
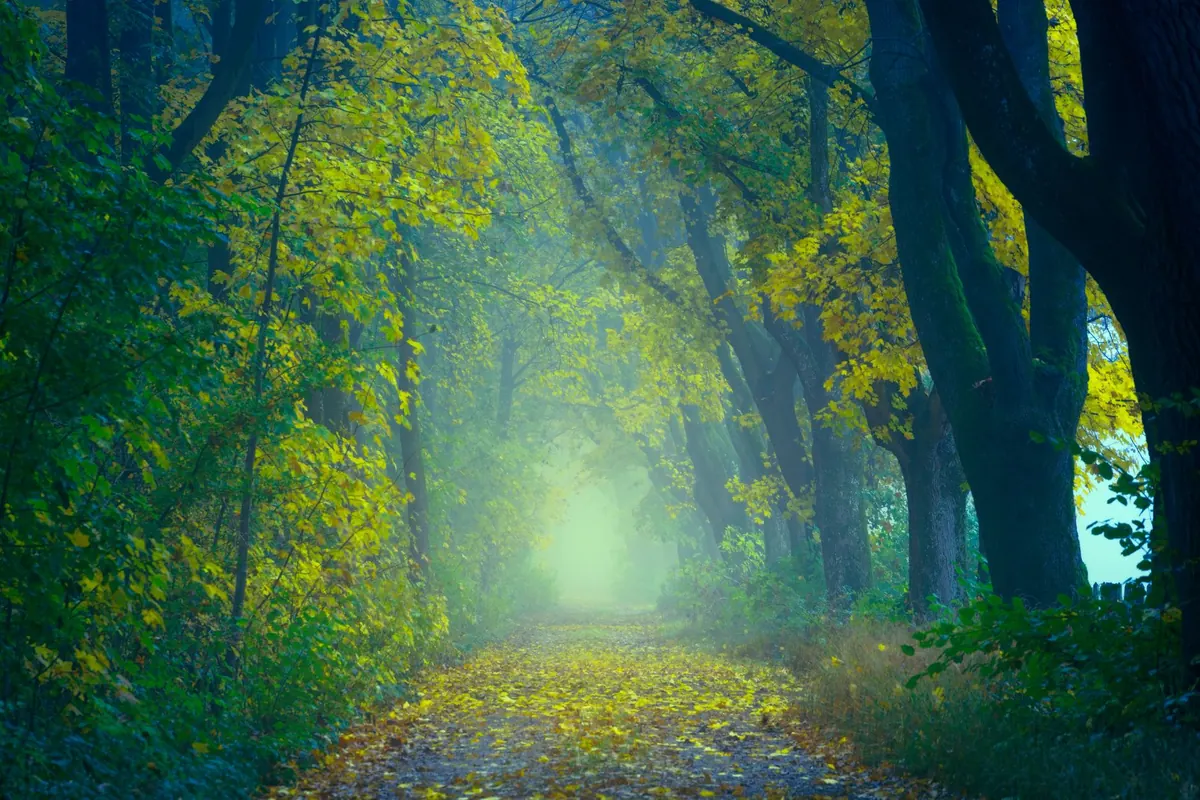
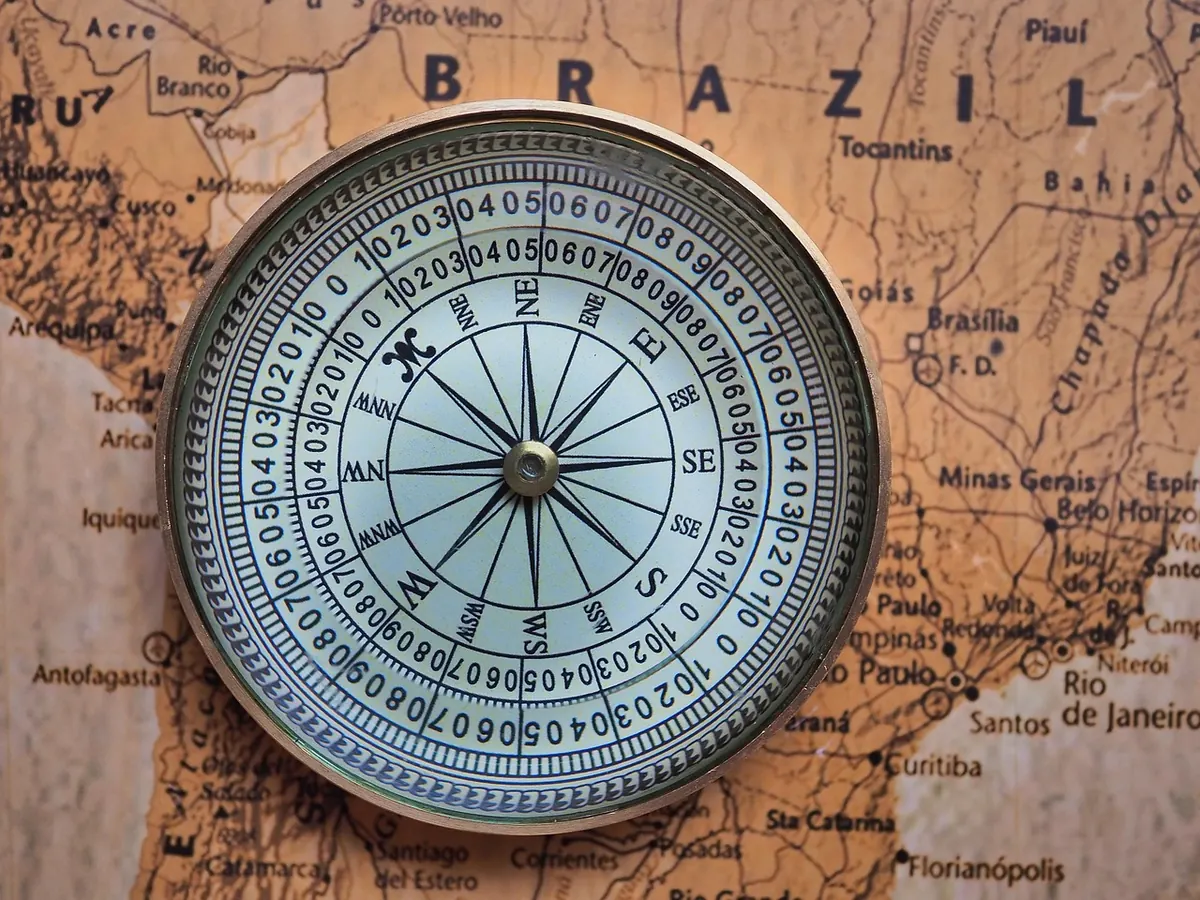
A path forks. One way looks trodden, the other has a faded stripe of paint on a birch trunk. You have a map in a plastic sleeve, a compass you have never really used, and about two hours of daylight to be wrong in. That is the moment navigation stops being a hobby detail and starts to matter. The good news is that maps and blazes are simple systems, built by people who expected to be understood quickly. Learn a handful of rules and you will read both at a glance.
Start With the Legend, Not the Route
Most people unfold a map and immediately trace the line they plan to walk. Do the opposite. Spend two minutes on the margins first, because that is where the map explains itself.
Check the scale. A 1:25,000 map means one centimetre on paper is 250 metres on the ground, so a route that looks like a short squiggle may be a three-hour walk. Check the date and the survey notes; paths move, gates get removed, and forestry blocks appear. Find the north arrow, and find the note about magnetic north, usually printed nearby with an annual change figure.
Then read the symbols. On British maps, dashed green lines are usually public footpaths, and waymarking colours follow a convention: yellow arrows for footpaths, blue for bridleways, red for byways, purple for restricted byways. Coloured shading may mark access land where you can wander off the path. None of this is universal, which is exactly why the legend matters — a symbol on a French or American map may mean something quite different.
Contour Lines Explain the Climb
Contours are the part of a map that tells you how the day will actually feel. Each line joins points of equal height, and the gap between lines is the contour interval, printed in the legend — often 5 or 10 metres.
Lines packed tightly together mean steep ground. Widely spaced lines mean gentle ground. Where a contour crosses a stream it forms a V, and the point of the V aims uphill, so you can tell a valley from a ridge without any labels at all. Contours never cross each other, because a point cannot be at two heights at once.
This is where a route earns its reputation. A four-kilometre path that climbs 400 metres will take far longer than a flat eight-kilometre one. Count the contours you cross on the map, multiply by the interval, and you have a rough idea of the climbing ahead — and a much better sense of whether you will be back before dark.
Blazes Are a Language
A blaze is a deliberate mark left to confirm the route: a painted rectangle on a tree, a plastic disc on a post, a small cairn of stones, a metal arrow. The exact system varies by country and by trail, but a few conventions turn up again and again.
- A single blaze means carry on straight ahead.
- A double blaze — one mark above another — warns of a turn, a junction or something needing attention shortly.
- When the two marks are offset, the upper one points the way. Top mark shifted to the right? The turn goes right.
- An X, or three marks stacked vertically in some systems, means this is not the trail. Go back.
Look for blazes on both sides of trees and posts, because they are usually painted to be seen in either direction. If you have walked for several minutes without spotting one on a trail that has been generous with them so far, that is information. Stop and look behind you.
If you can still see the last blaze when you turn around, you are probably still on the path.
Cairns deserve a warning. In open moorland and mountain terrain they mark routes where paint would not survive, but people also build decorative cairns that lead nowhere, and unofficial ones can pull you off line. Follow cairns that sit on the obvious line of travel, not every pile of stones you pass. And leave them alone — moving or adding stones makes the route worse for everyone behind you.
Compass Basics, Minus the Jargon
A baseplate compass does two useful jobs, and you can learn both in ten minutes.
The first is orienting the map. Lay the map flat, put the compass on it, and turn your whole body and the map together until the red end of the needle lines up with the north lines printed on the map. Now the map is aligned with the real world, and what is on your left is on your left.
The second is taking a bearing. Lay the edge of the compass along the line you want to walk, with the direction-of-travel arrow pointing at your destination. Rotate the bezel until its orienting lines run parallel with the map's north–south grid lines. Hold the compass flat in front of you and turn until the red needle sits inside the red marking on the bezel. The direction-of-travel arrow now points where you need to go.
The one thing to check is the difference between magnetic north and grid north, called declination. The current value is printed on the map margin, and it drifts over time, so verify it against a recent source rather than trusting an old map.
Small Habits That Prevent Wrong Turns
- Stop at every junction, not just the confusing ones. Look down at the map, then up at the trail.
- Name your last certain point out loud. "The gate with the broken hinge — that is our anchor." It sounds odd and it works.
- Confirm the blaze before and after every turn.
- Count features as you pass them: second stream crossing, third stile.
- Set a backstop — a river, a road or a ridge you must not cross — so you know when something is badly wrong.
- Fold the map down to the section you need. A map flapping in the wind is a map you stop reading.
- Carry paper even when your phone has the route. Batteries die in the cold, and screens crack.
- Tell someone your route and your expected return time before you leave.
When You Think You Have Gone Wrong
Stop walking. Eat something. The instinct to push on and "see if it comes right" is how a ten-minute error becomes a two-hour one.
Retrace your steps to the last point you were certain about, even if it is back the way you came. Check behind you for blazes. Keep the group together rather than sending one fast walker ahead, and avoid striking off across country to cut a corner — that is how people end up on the wrong side of a fence line at dusk. If you are genuinely lost, stay on the path, get warm and sheltered, and use the local emergency number for mountain rescue.
Practise Somewhere Boring
The place to build these skills is a country park with waymarked loops, not a moor in bad weather. Pick a two- or three-kilometre route, take the map and compass, leave the phone in your pocket, and try to know where you are at every moment. Pause at each waymark and ask what the map shows before you look up. Do that half a dozen times and the reading becomes automatic — which is precisely what you want on the day the path forks and the light starts going.
Photo: beasternchen / Pixabay
Related posts
More stories you’ll love reading